Getting Started with Your Erae 2
Welcome to the Erae 2. This guide walks you through everything you need to do from the moment you open the box to playing your first layout: powering on, connecting to your computer, running a firmware update, and exploring the playing surface. If you own the older Erae Touch (the original model), see Getting Started with Erae Touch (Legacy) instead.
What's in the Box
Your Erae 2 ships with:
- Erae 2 controller
- USB-C power adapter
- Fabric skin (already mounted on the controller)
- 8 GB microSD card (already inserted in the device)
- 2x 2 m USB-C cables
- 2x MIDI TRS to DIN adapters
Note: The microSD card stores your projects and layouts. It ships pre-inserted in the slot on the back of the device. If you ever remove it for any reason, re-insert it before powering on: the device will not boot without it (it will show a message asking you to insert the card).
The Three USB-C Ports
Before plugging anything in, take a moment to understand the three USB-C ports on the back of the Erae 2. Using a weak power source, or skipping the Power port, is the most common first-use mistake, and it causes the device to start in a reduced-power state.
| Port label | What to plug in | Notes |
|---|---|---|
| Power | A USB-C power adapter | The main power input. Use this for full power |
| Device | Your computer | The class-compliant USB-MIDI data connection. Carries both the Main and MPE MIDI cables. Use this for Erae Lab communication and firmware updates |
| Host | USB MIDI keyboards, synths, controllers | Supplies up to 0.5 A (500 mA) to the connected device |
Warning: The device can still run without the Power port connected, drawing bus power from the Device port instead, but this puts it in Low Power mode, a reduced state where several features are unavailable. For full brightness, CV outputs, and firmware updates, connect a power adapter to the Power port.
First Power-On
- Confirm the microSD card is seated in the slot on the back of the device.
- Connect a USB-C power adapter to the Power port.
- Flip the power switch to ON.
- The LCD screen lights up and shows the boot splash: the word "Erae" and the current firmware version.
Note: The boot screen says "Erae", not "Erae 2". This is by design and is not a product mismatch.

After the boot splash, you will see one of three things:
- The home screen: the device is ready to play.
- "Low Power (Low brightness, CV, MIDI B, Metronome disabled)": the device detected less than 15 W from its power source. See Low Power Mode below.
- "Please insert microSD card and reboot": the SD card is missing or not making contact. Power off, re-seat the card, and power on again.
Low Power Mode
If the Erae 2 cannot draw enough power from its source, it enters Low Power mode. This is shown on the LCD at boot and is not an error: it is the device telling you exactly what has happened.

Low Power mode is triggered when the device is receiving less than roughly 15 W, for example when:
- No power adapter is connected to the Power port, and the device is running on bus power from the Device port instead
- The power adapter connected to the Power port is weak or does not support USB Power Delivery
What is unavailable in Low Power mode:
- CV and Gate outputs: silently disabled; no per-output warning appears
- Footswitch and expression pedal inputs: disabled
- MIDI B output: disabled
- Metronome: disabled
- Host port: unpowered; USB MIDI devices plugged into it will not respond
- LED brightness: reduced
Fix: Connect a laptop-class USB-C PD adapter to the Power port, then restart the device.
Connecting to Your Computer and Erae Lab
Erae Lab is the companion software for designing and customizing layouts. You need it for firmware updates and for creating or editing layouts.
- Download Erae Lab from embodme.com/downloads and install it on your computer (macOS, Windows, or Linux: no driver required on any platform).
- Connect a USB-C cable from the Device port on the Erae 2 to your computer.
- Launch Erae Lab. The top bar shows a connection indicator. When your device is recognized, the indicator lights up.

You can have both the Power adapter and the Device cable plugged in at the same time: this is the recommended setup, and it is the only way to get full power (see The Three USB-C Ports above).
Platform Notes
macOS: No driver needed. The Erae 2 is class-compliant USB MIDI and works immediately.
Windows: If you have a DAW open when you first connect the Erae 2, Windows may reserve the MIDI ports and cause a conflict. Close all DAWs and MIDI applications before opening Erae Lab for the first connection, then reopen your DAW after Lab is running and the device is recognized.
On Windows, your DAW will show two MIDI ports. Here is what they are:
| Port name | Use |
|---|---|
| MIDI | Standard MIDI (Main): use this in your DAW for most purposes |
| MIDI (MPE) | MPE MIDI: select this when using MPE-capable instruments |
Linux: No driver needed. On some distributions, your user account may need to be in the audio group to access USB MIDI devices.
Updating Firmware
Erae Lab checks automatically whether your device needs a firmware update, and installs it automatically when one is available: there is no manual multi-step process to follow. Keeping the firmware current gives you the latest features and stability improvements.
Warning: The firmware update requires enough power. If the device is running in Low Power mode, Erae Lab will block the update and show "Please connect your Erae to a power supply before updating firmware." Connect a laptop-class USB-C PD adapter to the Power port, then try again.
Update Steps
- Make sure the Power port is connected to a USB-C power adapter and the Device port is connected to your computer, and that Erae Lab can see the device.
- Launch Erae Lab. If a newer firmware version is available, Erae Lab detects it and installs it automatically.
- Do not disconnect any cable during the update.
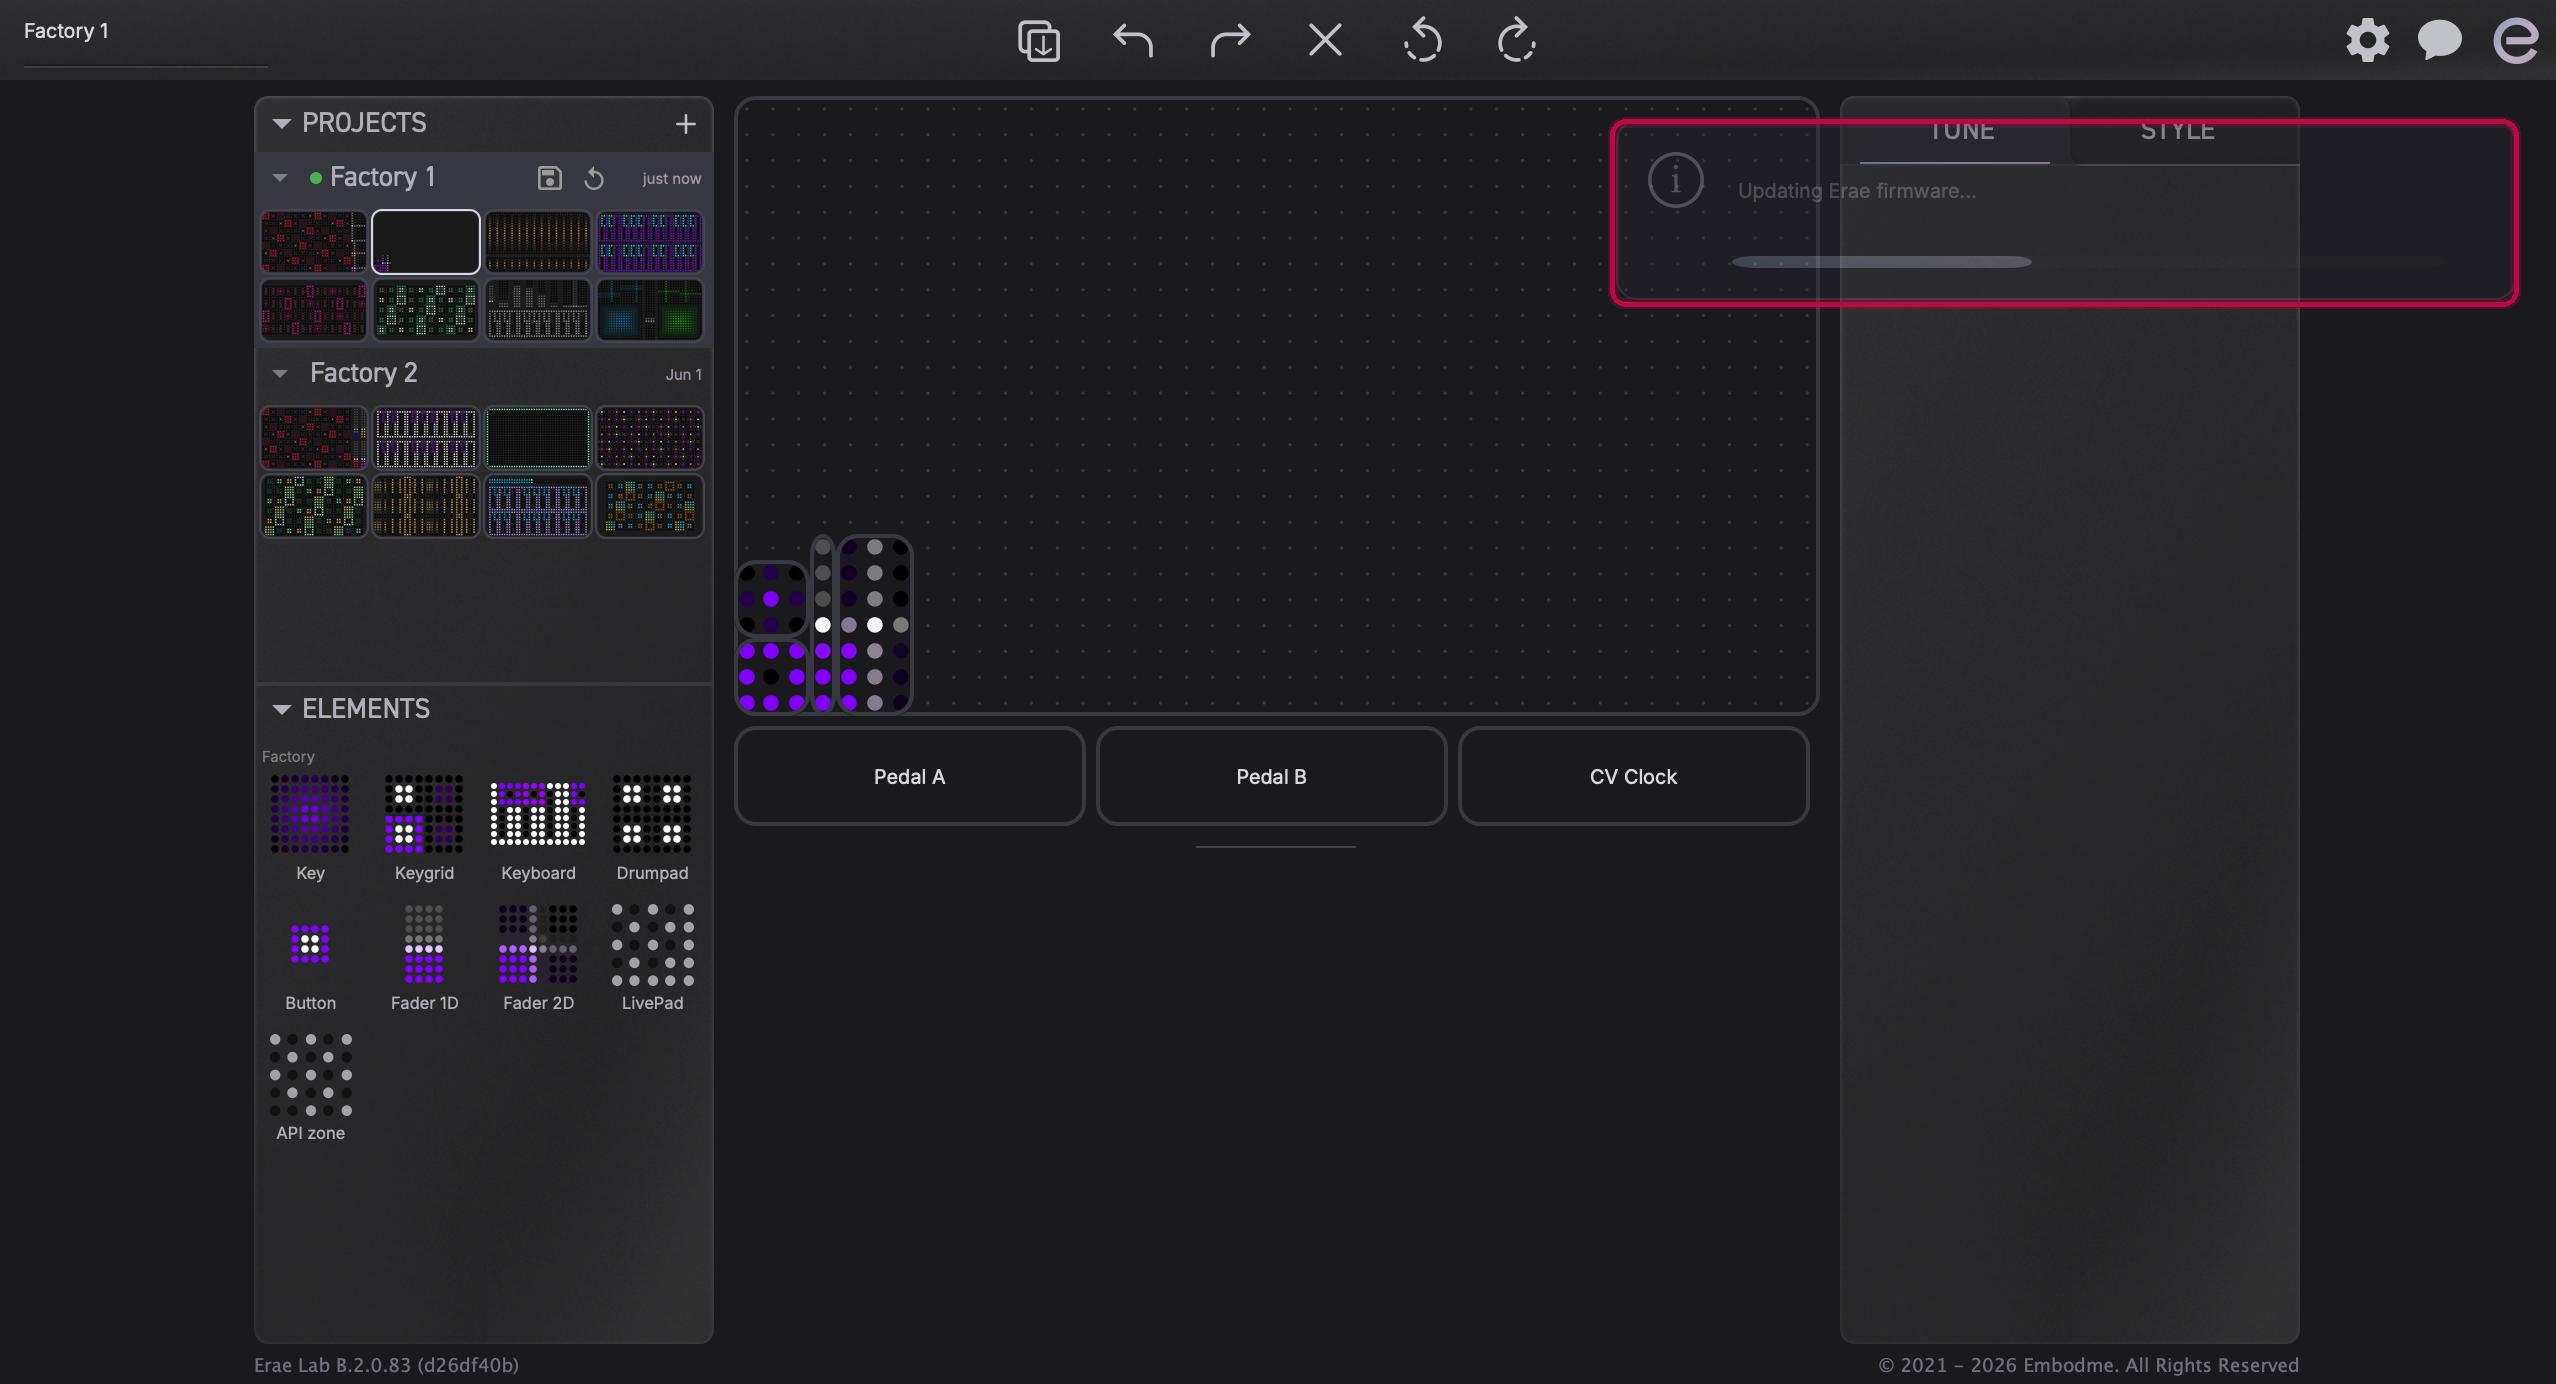
While the update runs, the LCD shows the progress:
- "Waiting for USB" / "Ready to Update": the device is in update mode, waiting for the file transfer to begin.
- "Receiving File": Erae Lab is streaming the firmware to the device.
- "Installing...": the device is writing the new firmware to its internal memory. Do not power off during this phase.
- "Update done / Rebooting...": the update succeeded. The device restarts automatically.
After the device reboots, it re-programs its internal touch processors. This takes up to one minute. The device will reappear in Erae Lab when the process is complete. Do not power off during this window.
If the Update Does Not Start
If the device gets stuck on "Waiting for USB", try unplugging and re-plugging the Device cable. If the update fails and the device does not come back on its own, see Erae 2 Firmware Update Troubleshooting.
Manual Recovery
If you need to force the device into update mode at any time (for example, after a failed update), hold the Settings button on the front panel while powering on. The LCD will show "Waiting for USB" / "Ready to Update". Connect the Device cable and open Erae Lab: it detects the device in update mode and shows a prompt offering to install the latest firmware or select a specific firmware file.
Note: The Erae 2 has a dedicated recovery bootloader in a protected area of its memory. A failed or interrupted firmware update does not permanently disable the device: you can always recover by using the Settings-button method above or by re-running the update in Erae Lab.
Playing Your First Layout
Your Erae 2 ships with eight factory layouts ready to play.
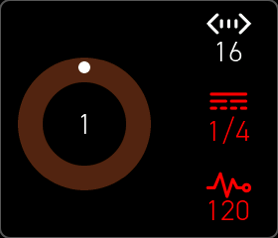
- Switch layouts: Press any of the numbered buttons 1 to 8 along the top of the device. The LCD shows the name of the current layout.
- Play: Touch the playing surface. Vary your pressure to control expression: the harder you press, the more expressive the sound (velocity, aftertouch, or MPE).
- Navigate the LCD: Turn the encoder wheel to move between options; press it to confirm.
The factory layouts cover a range of playing styles: keyboard-style layouts, isomorphic grids, drum pads, and more. Try each one to get a feel for the surface.
Next Steps
Once you are comfortable with the basics:
- Design your own layouts: Erae Lab Overview
- Connect to a DAW with MPE: MPE Setup on Erae 2
- Use CV/Gate outputs with modular gear: see the CV/Gate section of the manual
- Set up a sustain or expression pedal: Setting Up Sustain & Expression Pedals on Erae 2
- Connection not working: Erae 2 Not Detected: USB & Connection Troubleshooting
- Update problems or device not responding: Erae 2 Firmware Update Troubleshooting