Downloading and Installing Erae Lab (macOS, Windows, Linux)
Erae Lab is the free desktop app for configuring your Erae 2 (or Erae Touch). It lets you design layouts, assign MIDI and CV, push projects to the device, and install firmware updates. It runs on macOS, Windows, and Linux: no DAW or audio interface required.
Note: Erae Lab is a separate application from the EraeSound audio plugin. If you are looking for EraeSound setup, see Activating EraeSound: Sign-In, Licensing & Demo Mode.
System requirements
| Minimum | Recommended | |
|---|---|---|
| macOS | macOS 11.0 (Big Sur), Intel or Apple Silicon | macOS 12 or later |
| Windows | Windows 10, 64-bit | Windows 10 or 11, 64-bit |
| Linux | Ubuntu 20.04 or equivalent, x86_64 | Ubuntu 22.04 or later |
| RAM | 4 GB | 8 GB or more |
| USB | One USB-A or USB-C port | Same |
Erae Lab is a universal binary on macOS: it runs natively on both Intel and Apple Silicon. No Rosetta 2 translation is needed.
Download Erae Lab
Go to embodme.com/downloads and click the button for your operating system. The page always links to the latest release.
If you need a direct link (for example, to share with a colleague or bookmark for quick re-downloads), use one of these permanent URLs:
| Platform | Direct link |
|---|---|
| macOS | https://europe-west1-embodme-firebase.cloudfunctions.net/download?platform=macos |
| Windows | https://europe-west1-embodme-firebase.cloudfunctions.net/download?platform=windows |
| Linux | https://europe-west1-embodme-firebase.cloudfunctions.net/download?platform=linux |
These links always redirect to the latest release build. They are stable and will not change.
Release vs. Nightly
The links above download the release build, the version recommended for all users. A Nightly build is also available for those who want the very latest development features; it updates frequently and may be less stable. Do not use Nightly for live performance or critical sessions.
To download Nightly, add &channel=nightly to any of the direct links above.
Install on macOS
The macOS download is a .pkg installer, signed and notarized by Apple.
- Open the downloaded
.pkgfile. - Follow the installer wizard: the default options are correct for most setups.
- Once the installer finishes, open Erae Lab from your Applications folder.
If macOS blocks the installer: The package is notarized, so this is uncommon, but it can happen on some system configurations. If you see a message saying the app "cannot be opened" or "cannot be verified":
- Open System Settings > Privacy & Security.
- Scroll to the Security section.
- Find the Erae Lab entry and click Open Anyway.
- Confirm when prompted.
This is a one-time step. macOS remembers your choice for future launches.
Install on Windows
The Windows download is a .exe installer, digitally signed with an Embodme code-signing certificate.
- Run the downloaded
.exe. - Follow the installer wizard.
- Once complete, open Erae Lab from the Start menu.
If Windows SmartScreen shows a warning: The installer is signed, but Windows SmartScreen can display a "Windows protected your PC" dialog during the reputation-building period after a certificate is renewed. If you see this:
- Click More info.
- Verify the publisher name reads Embodme.
- Click Run anyway.
If the publisher name does not say Embodme, do not proceed: contact support before running the file.
Install on Linux
The Linux download is a self-extracting .run file that installs an AppImage.
- Make the file executable:
chmod +x EraeLab-<version>-linux-x86_64.run - Run the installer:
./EraeLab-<version>-linux-x86_64.run - The installer asks you to confirm the install location and prompts for your admin password to set up USB device access (see below).
- Once finished, Erae Lab appears in your application launcher.
The AppImage is installed to ~/.local/share/Embodme/EraeLab/ and desktop entries are created automatically. No system-wide installation is required.
Linux USB permissions (udev rule)
Linux restricts direct access to USB device endpoints by default. To let Erae Lab communicate with your Erae, the installer installs a small rules file (/etc/udev/rules.d/99-embodme.rules) that grants your user account access to Erae USB vendor IDs. You will be prompted for your admin password during installation.
This rule covers both the Erae 2 and the Erae Touch across all operating modes.
If the device is not detected after installation, or if you see a "Erae detected but USB access is denied" notification inside Erae Lab, click Fix Now in that notification. Erae Lab will run the permission fix for you and reload the rule immediately.
Manual fallback (if the Fix Now step does not work): run the following in a terminal, then unplug and replug the Erae:
sudo cp /tmp/99-embodme.rules /etc/udev/rules.d/ && \
sudo udevadm control --reload-rules && \
sudo udevadm trigger
What's installed alongside Erae Lab
The installer sets up more than just the Erae Lab app itself:
- Erae Lab, the main application.
- The EraeSound VST3 plugin runtime, so EraeSound can be scanned and loaded by your DAW once you have a license.
- Firmware blobs for your Erae, used for on-device updates.
- On Windows and macOS, an Ableton Live control-surface script, so Erae can be selected as a control surface directly from Live's Link/Tempo/MIDI preferences. This script is not installed on Linux.
First launch
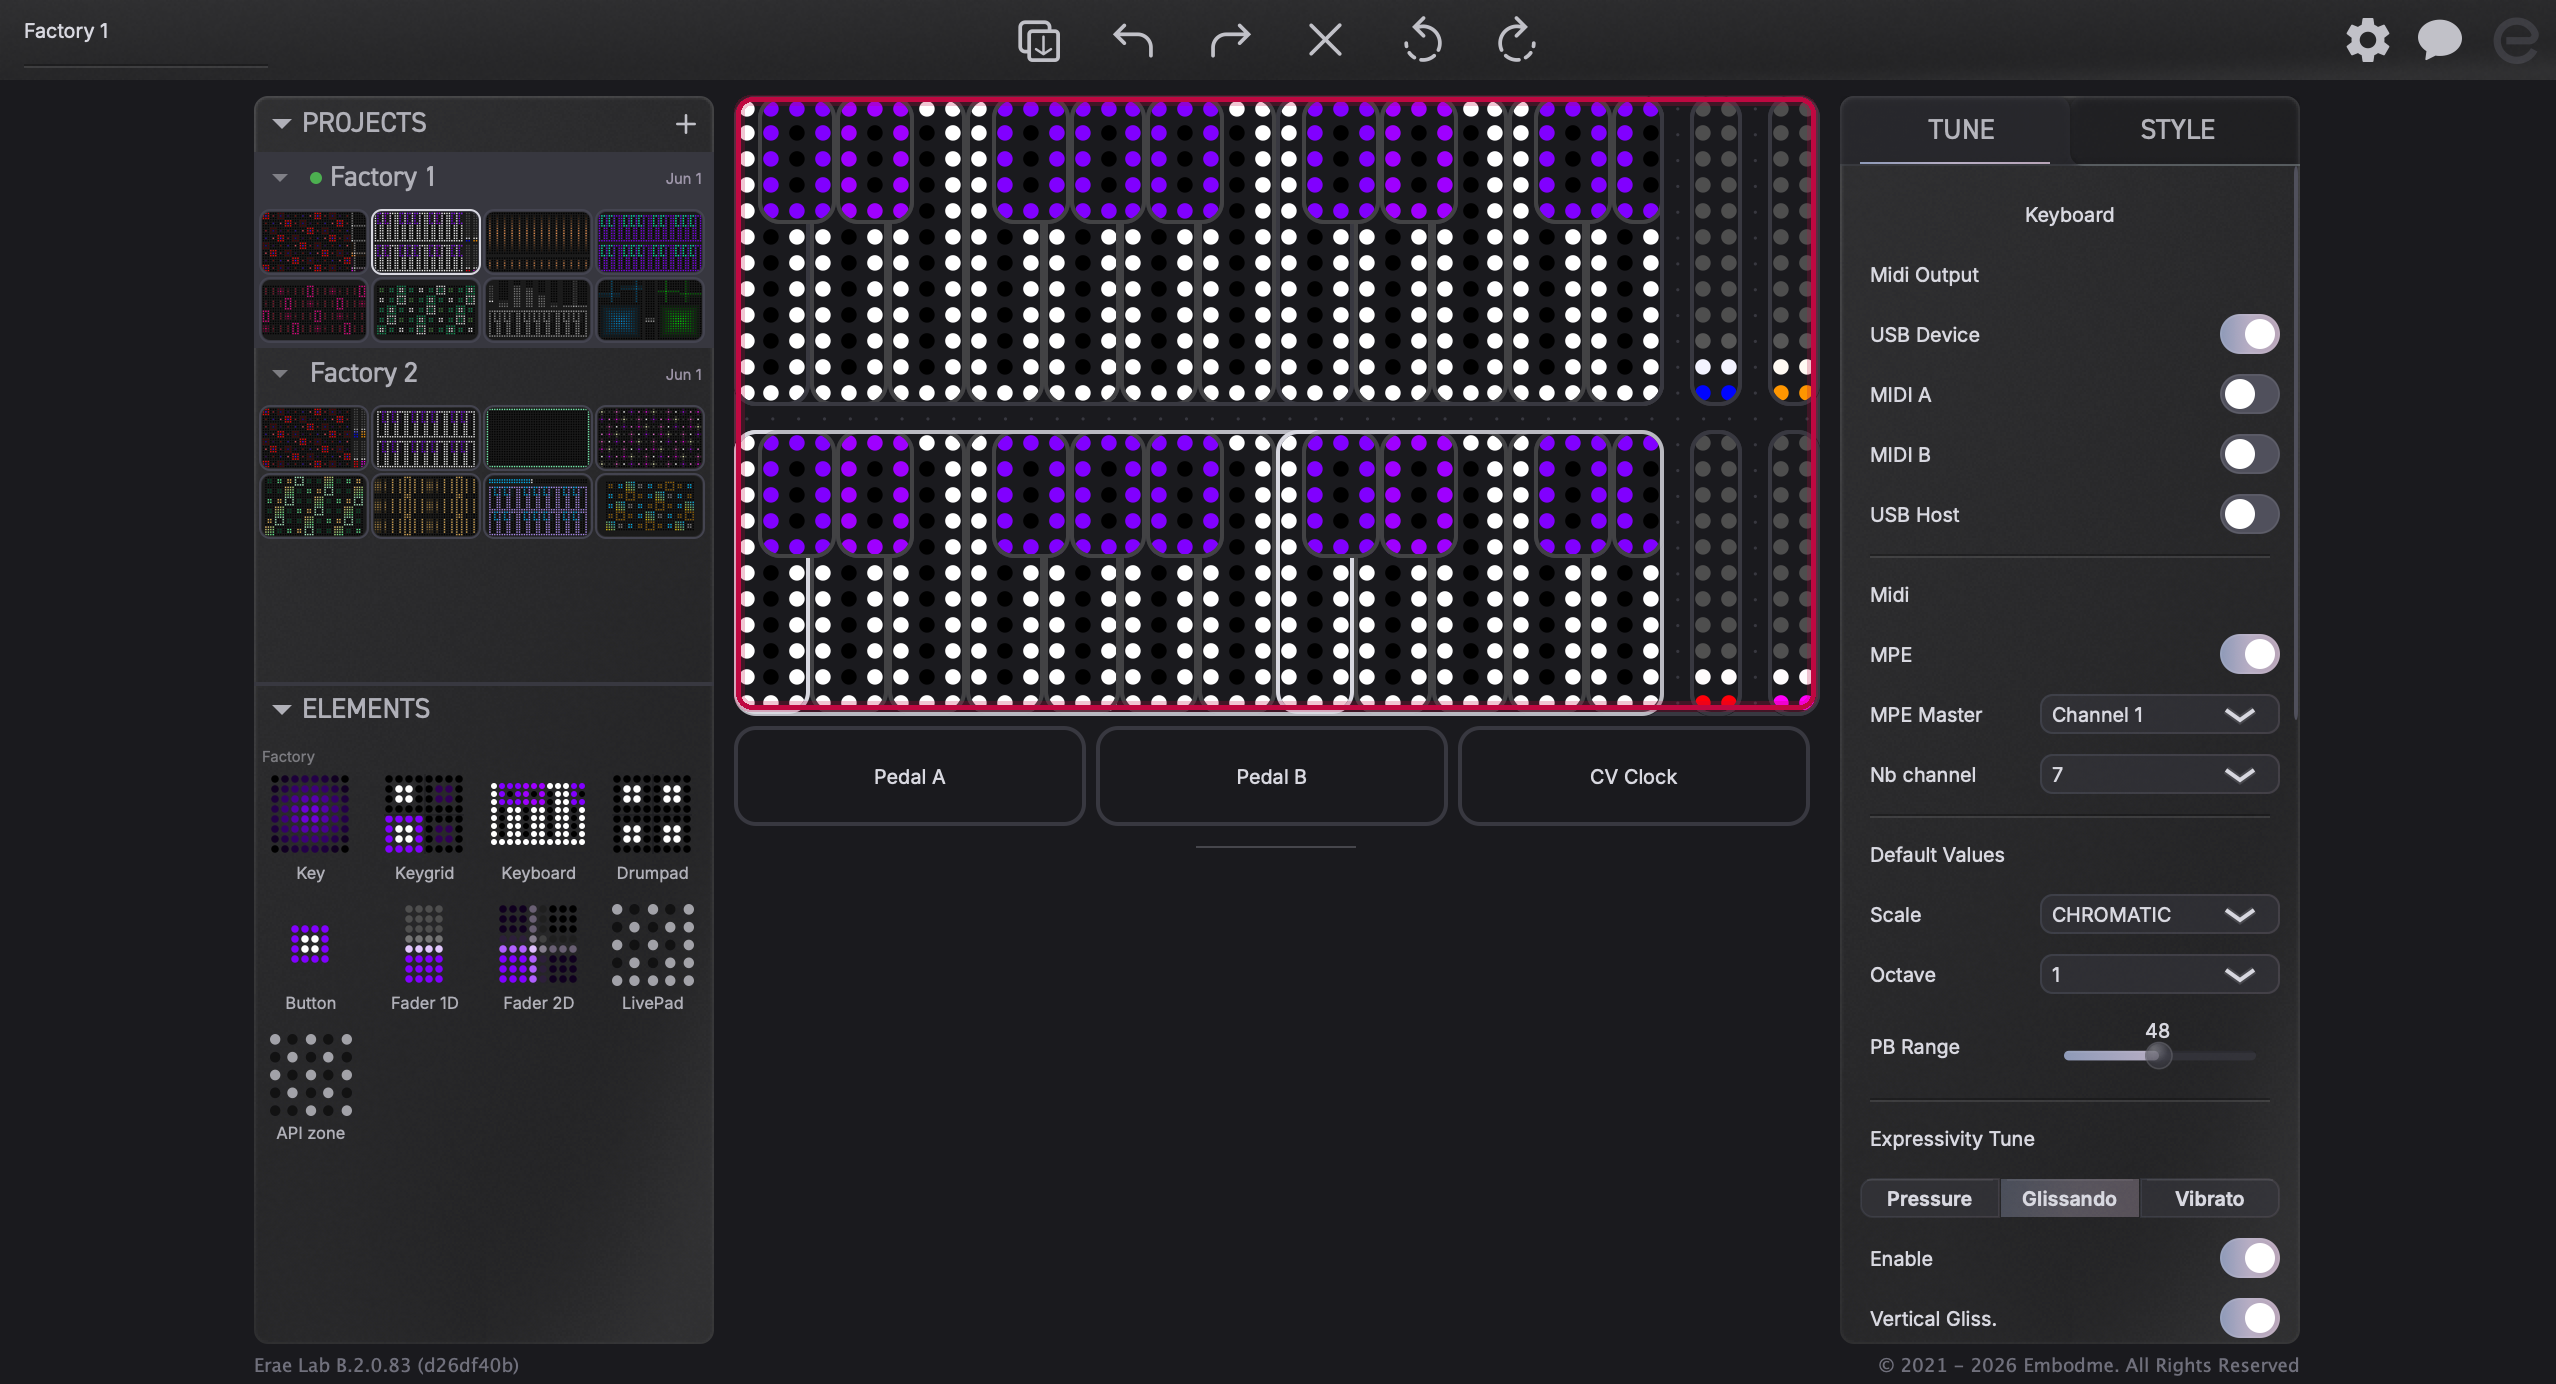
When Erae Lab opens for the first time, it sets up your personal projects folder and copies the factory project library to your computer. This takes only a moment.
Erae Lab checks for updates automatically in the background (using Sparkle on macOS and WinSparkle on Windows). When a new version is available, it installs silently. You do not need to re-download the installer to keep Erae Lab up to date.
Connecting your Erae
Plug the Erae into any USB port before or after launching Erae Lab, it does not matter which order. The app detects the device automatically.
On macOS and Windows, no driver installation is needed. The Erae appears as a standard USB MIDI device.
On Linux, the udev rule installed during setup is all that is required (see above).
When the connection is established, the top bar in Erae Lab lights up and the active project syncs to the device automatically.

Tip: If Erae Lab does not detect your device, try a different USB cable. Charge-only cables will not work: use the included cable or any cable that carries data. Connect directly to the computer rather than through a USB hub.
Troubleshooting installation
macOS: app does not open
Follow the Gatekeeper steps in the macOS section above. If the problem persists after clicking Open Anyway, re-download the installer from embodme.com/downloads and run it again.
Windows: installer does not show a publisher name
Do not run the file. Contact Embodme support to verify the download source.
Linux: device not detected after install
- Run
lsusbin a terminal and confirm the Erae appears in the list. - If it appears in
lsusbbut not in Erae Lab, the udev rule is missing or was not reloaded. Use the Fix Now notification inside Erae Lab, or run the manual fallback command above. - Unplug and replug the Erae after the rule is reloaded.
All platforms: use the latest version
Many connection and firmware-update issues are resolved by ensuring you have the most recent release. Always download the current version from embodme.com/downloads before troubleshooting further.
Related articles: